
Importing Payer and Vendors from QuickBooks Online
To import payers and vendors from QuickBooks Online, perform the following steps:
1. Navigate to the Zenwork Payments platform.
2. Click the QuickBooks Online tile.
Or
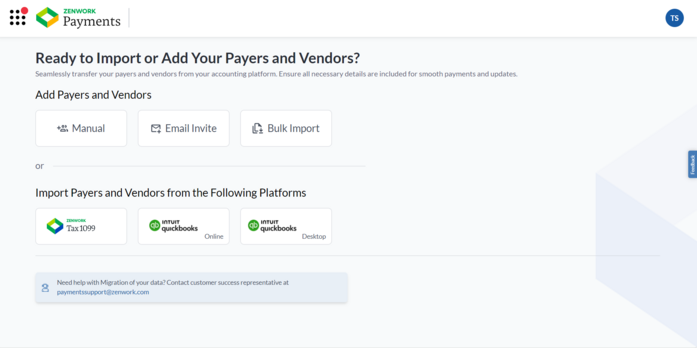
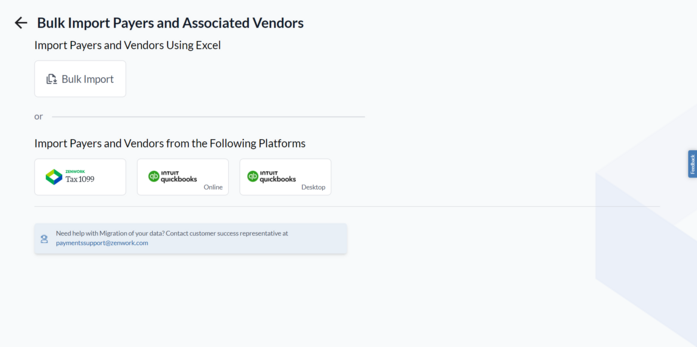
From the Payers dashboard, click to expand Add Payer, and then select Bulk Import. Under Import Payers and Vendors from the Following platforms, click the QuickBooks Online tile.
Note: You must create at least one payer and complete the subscription process to view the Payers dashboard.
The Intuit Sign In page appears.
3. Log in to QuickBooks using Intuit credentials.
4. On the next page, search and select a company and client from the respective lists.
5. Click Next.
6. Click Connect to sync Tax1099 with QuickBooks.
The Import Payer and Associated Vendors from QuickBooks Online page appears, displaying the selected Payer with the list of associated Vendors.
7. (Optional) Under Payers Details and Vendor Records, correct any incorrect information or fill in the missing details by clicking the  Edit icon.
8. (Optional) Turn on the Show Rows with Errors toggle to view the vendors with pending fixes.
9. (Optional) Click the  Filter icon to filter vendors by Active or Inactive status.
10. Select the vendor(s) you want to add, and then click Import.
The confirmation dialog box appears.
11. Click Proceed.
The Select Payers page appears.
12. Select the payers you want to import.
13. (Optional) Click to expand Add Payer, and then select the appropriate option to add or import payers manually.
14. Click Next.
The Select Vendor page appears, displaying the selected Payer(s) with the list of associated Vendors.
15. Select the vendor(s) you want to add, and then click Next.
16. Select the payer(s) you want to subscribe, verify the details, and then click Next.
The Subscription Summary page appears.
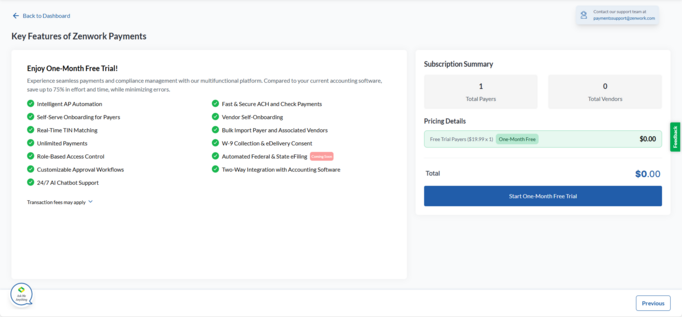
Note:
-
Start One-Month Free Trial appears for newly added payers who haven’t subscribed before, as well as for re-subscription payers.
-
Proceed to Pay appears when previously unsubscribed payers are manually added back for re-subscription.
17. Verify the subscription fee details and click Start One-Month Free Trial.
The Set Up Your Payment page appears.
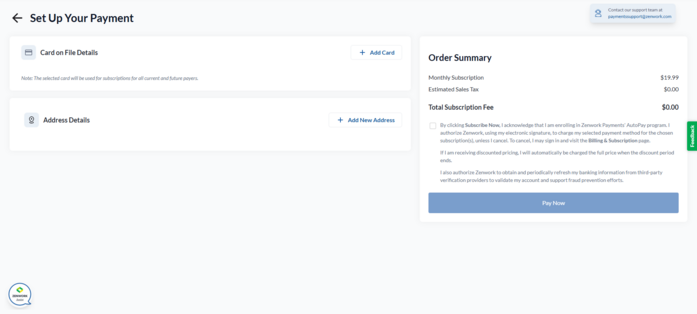
18. Select a credit card from the available cards or click Add Card to add a new one.
19. Select an address from the available addresses or click Add New to add a new address.
20. Read the terms, select the check box, and then click Pay Now.
The Payer, its associated Vendors, Bills, and Chart of Accounts (COAs) are successfully imported.