
Adding Vendors
To add the payers and vendors manually, perform the following steps:
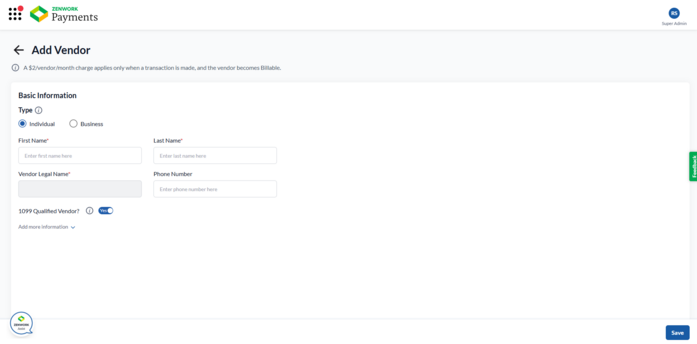
1. On the Add Vendor page, under Basic Information, select any one of the vendor types, and then perform the following steps:
-
If you select Individual, perform the following steps:
a. Enter the first name in the First Name box.
b. Enter the last name in the Last Name box.
c. (Optional) Enter the phone number in the Phone Number box.
-
If you select Business, perform the following steps:
a. Enter the business name in the Business Name box.
b. Enter the email address in the Email box.
c. Enter the phone number in the Phone Number box.
Note:
o By default, the Vendor’s Legal Name will be auto filled based on the provided first and last names.
o By default, the 1099 Qualified Vendor? toggle is turned on.
2. (Optional) Click to expand Add more information and enter the additional details.
3. Under Mandatory Details for Making Payments:
-
If you select Individual, enter the email address in the Email box.
-
If you select Business, select either the Business Description or Website URL option, and then enter the business description or URL.
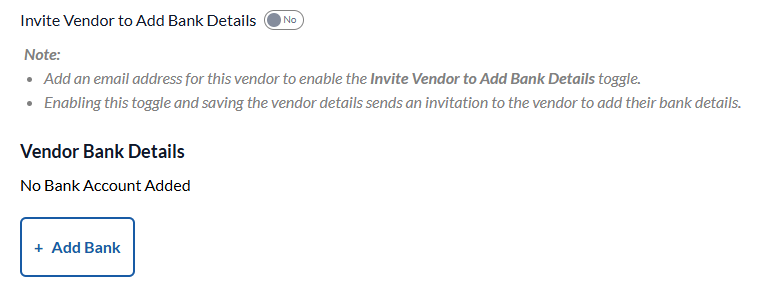
4. (Optional) Turn on the Invite Vendor to Add Bank Details toggle to send an invitation to the vendor to provide their bank details.
Or
Click + Add Bank to add Vendor's bank details.
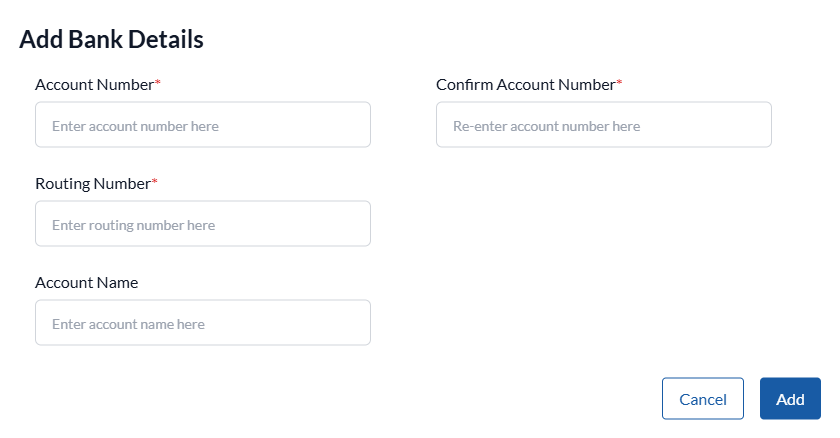
The Add Bank Details dialog box appears.
-
Enter the account number in the Account Number box.
-
Re-enter the account number in the Confirm Account Number box.
-
Enter the routing number in the Routing Number box.
-
(Optional) Enter account name in the Account Name box.
-
Click Add.
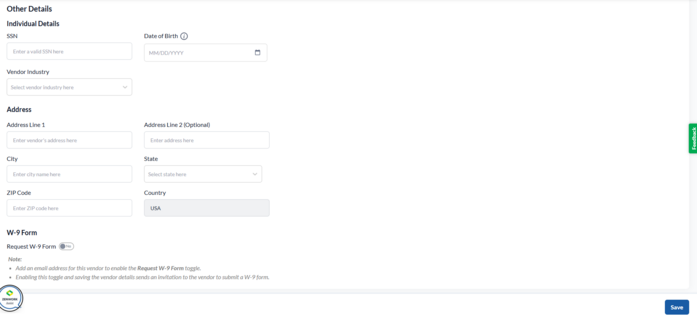
5. Under Other Details:
-
If you select Individual, enter the Social Security Number (SSN) in the SSN box, select the date of birth from the Date of Birth calendar, and vendor industry from the Vendor Industry list.
-
If you select Business, enter the Employer Identification Number (EIN) in the EIN, representative name in the Business Representative box, and and vendor industry from the Vendor Industry list.
6. Under Business Address, enter the address details, including Address Line, City, State, ZIP Code, and Country.
7. (Optional) Under W-9 Form, turn on the Request W-9 Form toggle to send an invitation to the vendor to submit their W-9 form.
8. Click Save.
The added payer and vendor list appears.
9. (Optional) Click to expand Add Vendor, and then select the appropriate option from the list to add more vendor(s).
10. Select the vendor(s) you want to subscribe and then click Next.
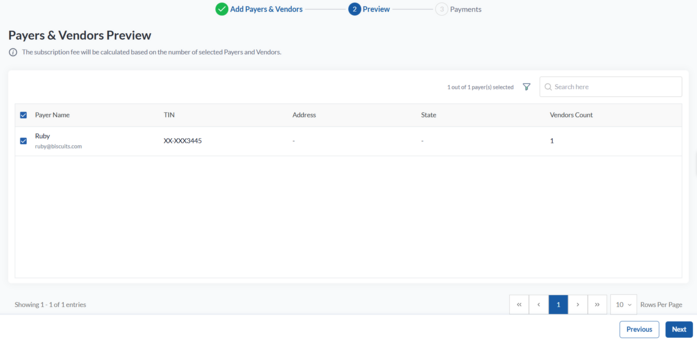
The Preview page appears.
11. Select the payer(s) you want to subscribe, verify the details, and then click Next.
The Subscription Summary page appears.
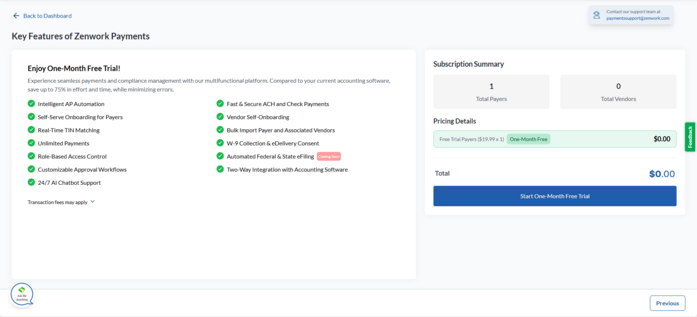
12. Verify the subscription fee details and click Start One-Month Free Trial.
Note:
-
Start One-Month Free Trial appears for newly added payers who haven’t subscribed before, as well as for re-subscription payers.
-
Proceed to Pay appears when previously unsubscribed payers are manually added back for re-subscription.
13. On the Set Up Your Payment page, select a credit card from the available cards or click Add Card to add a new one.
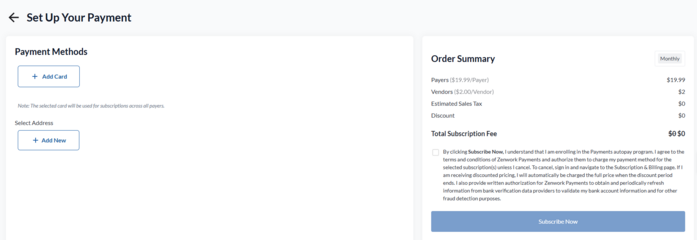
14. Select an address from the available addresses or click Add New to add a new address.
15. Read the terms, select the check box, and then click Subscribe Now.
The Payers dashboard appears, displaying a list of added payers and their associated vendor counts.